“Wallbox” has become the everyday word for any home electric car charger, whatever the brand. This guide uses it that way. What follows is what a proper installation involves, in the order it happens, so you know what you are buying and what to expect on the day.
What does a compliant installation involve?
A dedicated circuit from your board or meter position to the charger, with its own protective devices, sized for the distance it has to travel.
That sentence has four parts, and each one matters.
A dedicated circuit. The charger does not share a cable with anything else. The reason is duration, not peak load: a car charges close to full power for hours, and every connection on that circuit sits at working temperature for the whole session.
Its own residual current protection. Under ITC-BT-52, each charging point has its own RCD rather than sharing one with the rest of the house. It trips at 30 mA and must be at least type A; whether it needs more than that depends on whether the charger has its own DC fault detection, which is one of the things we check on the model you choose.
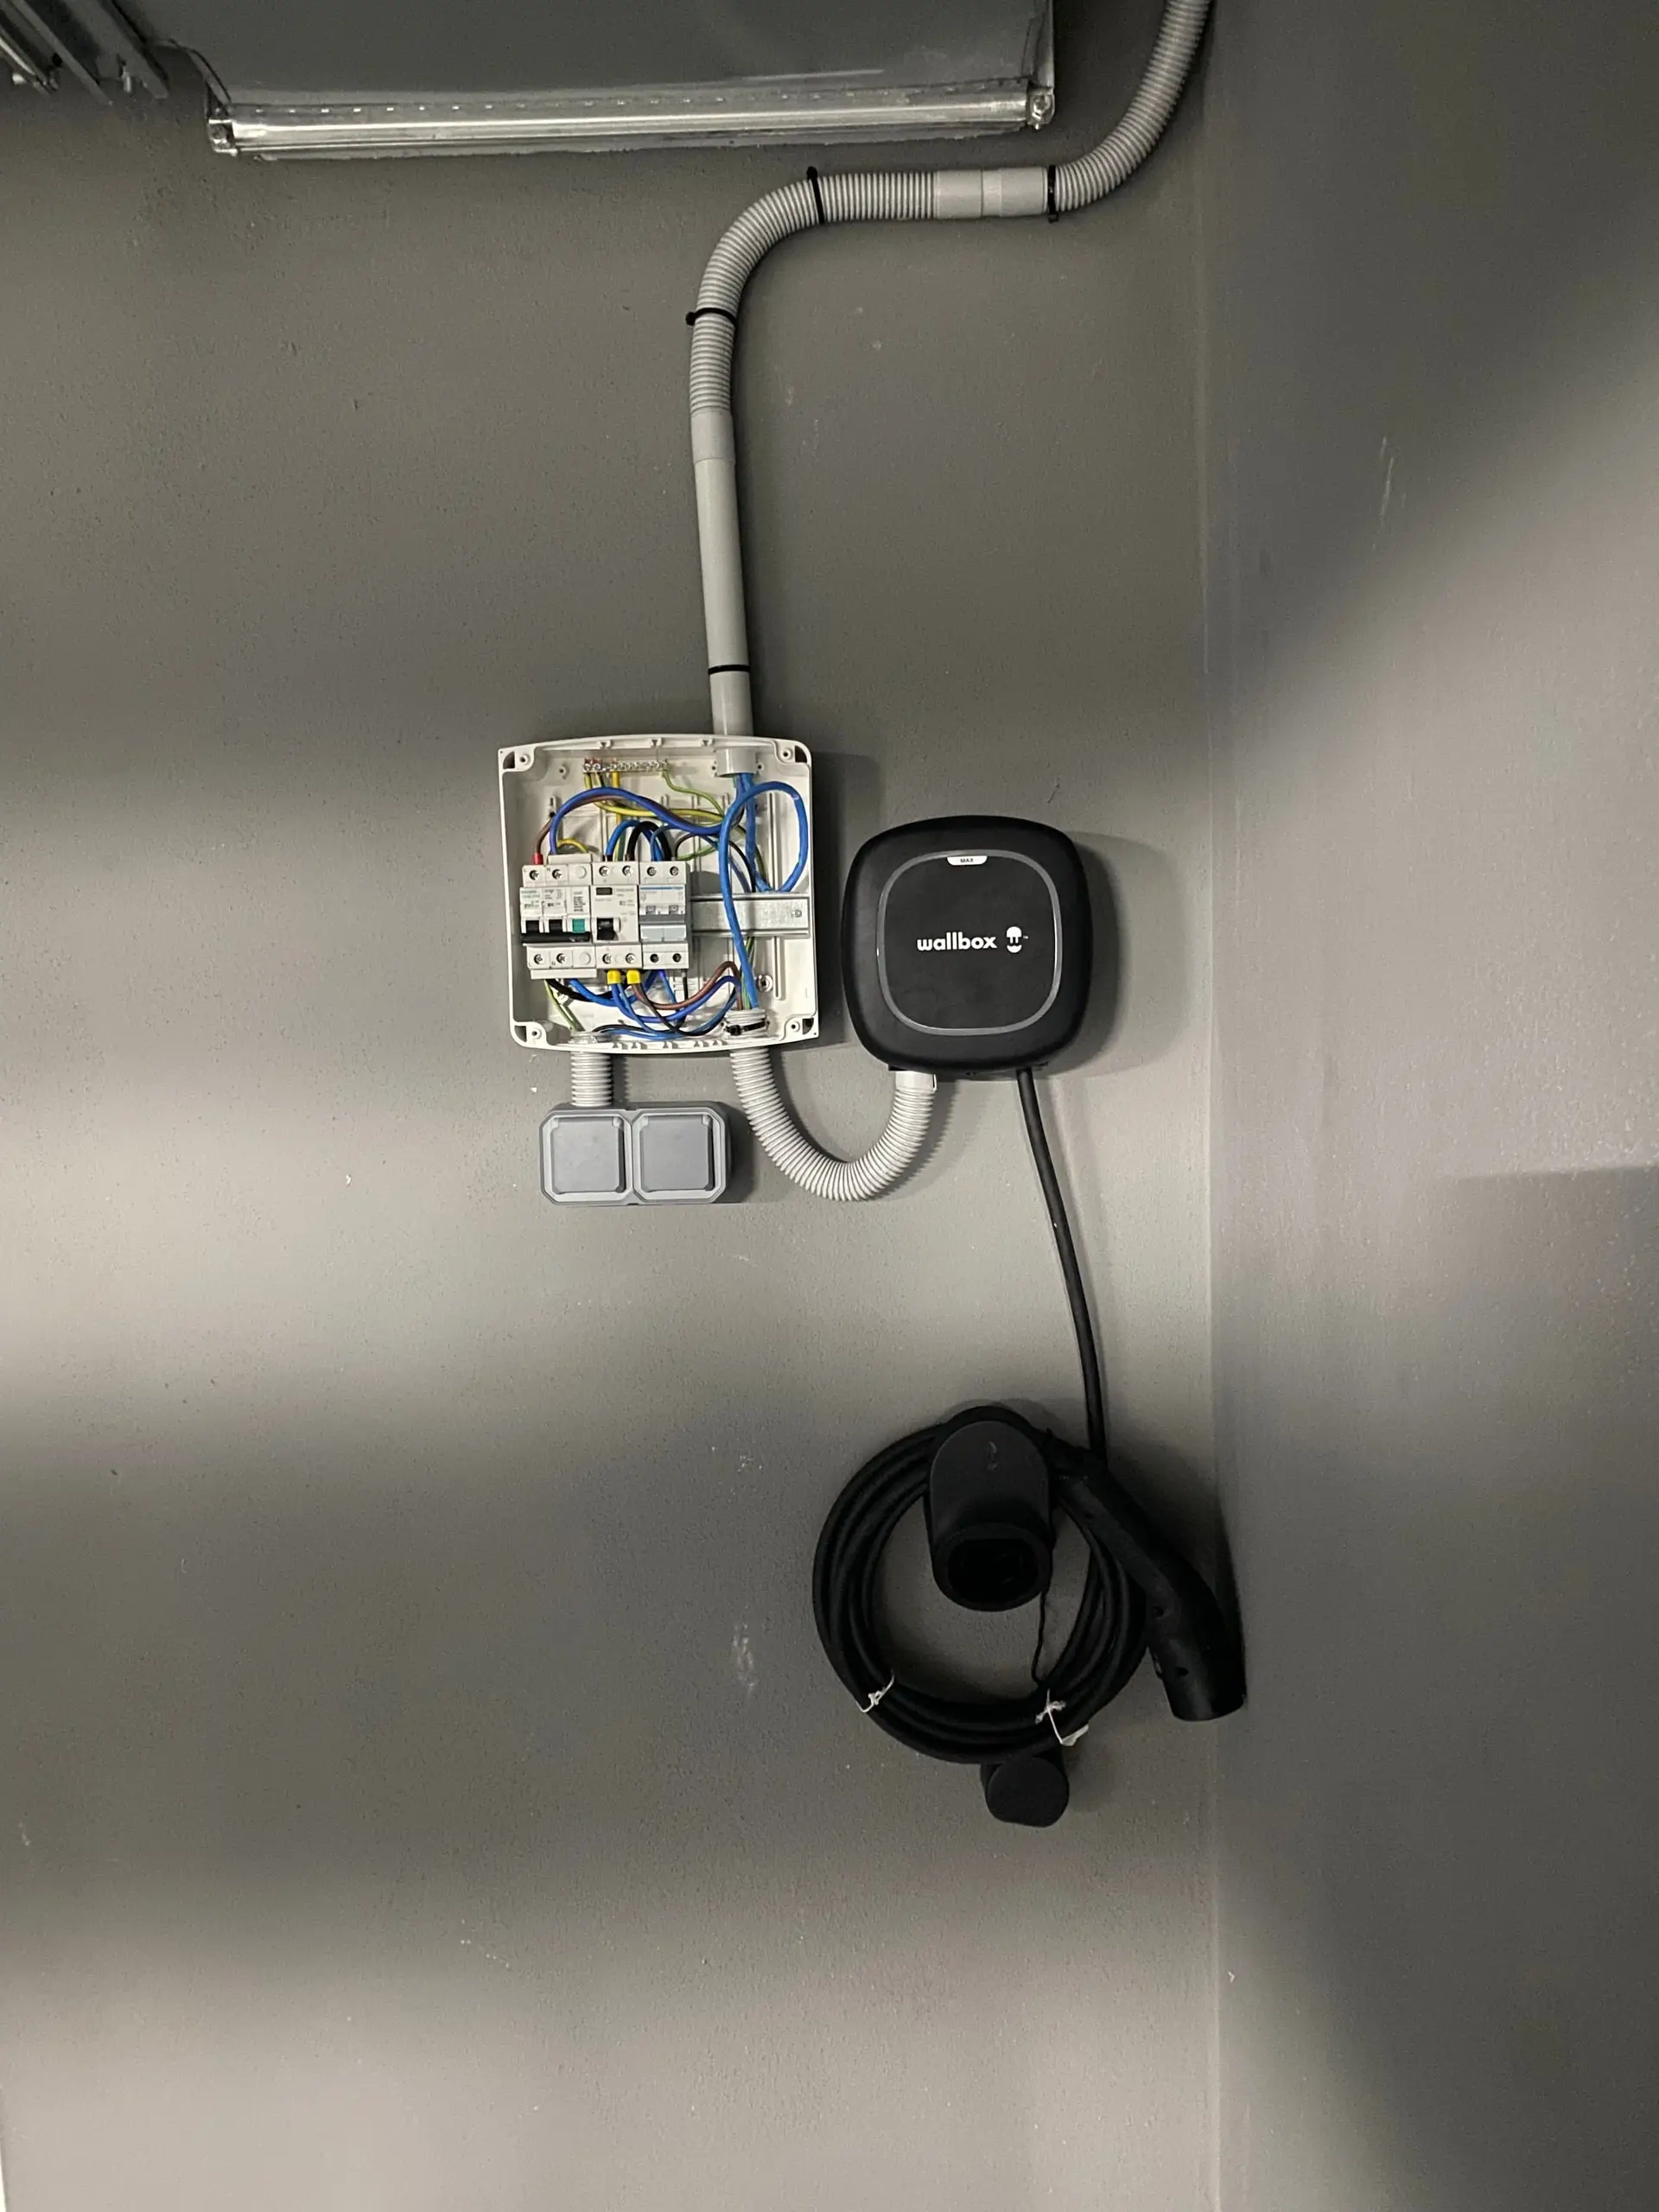
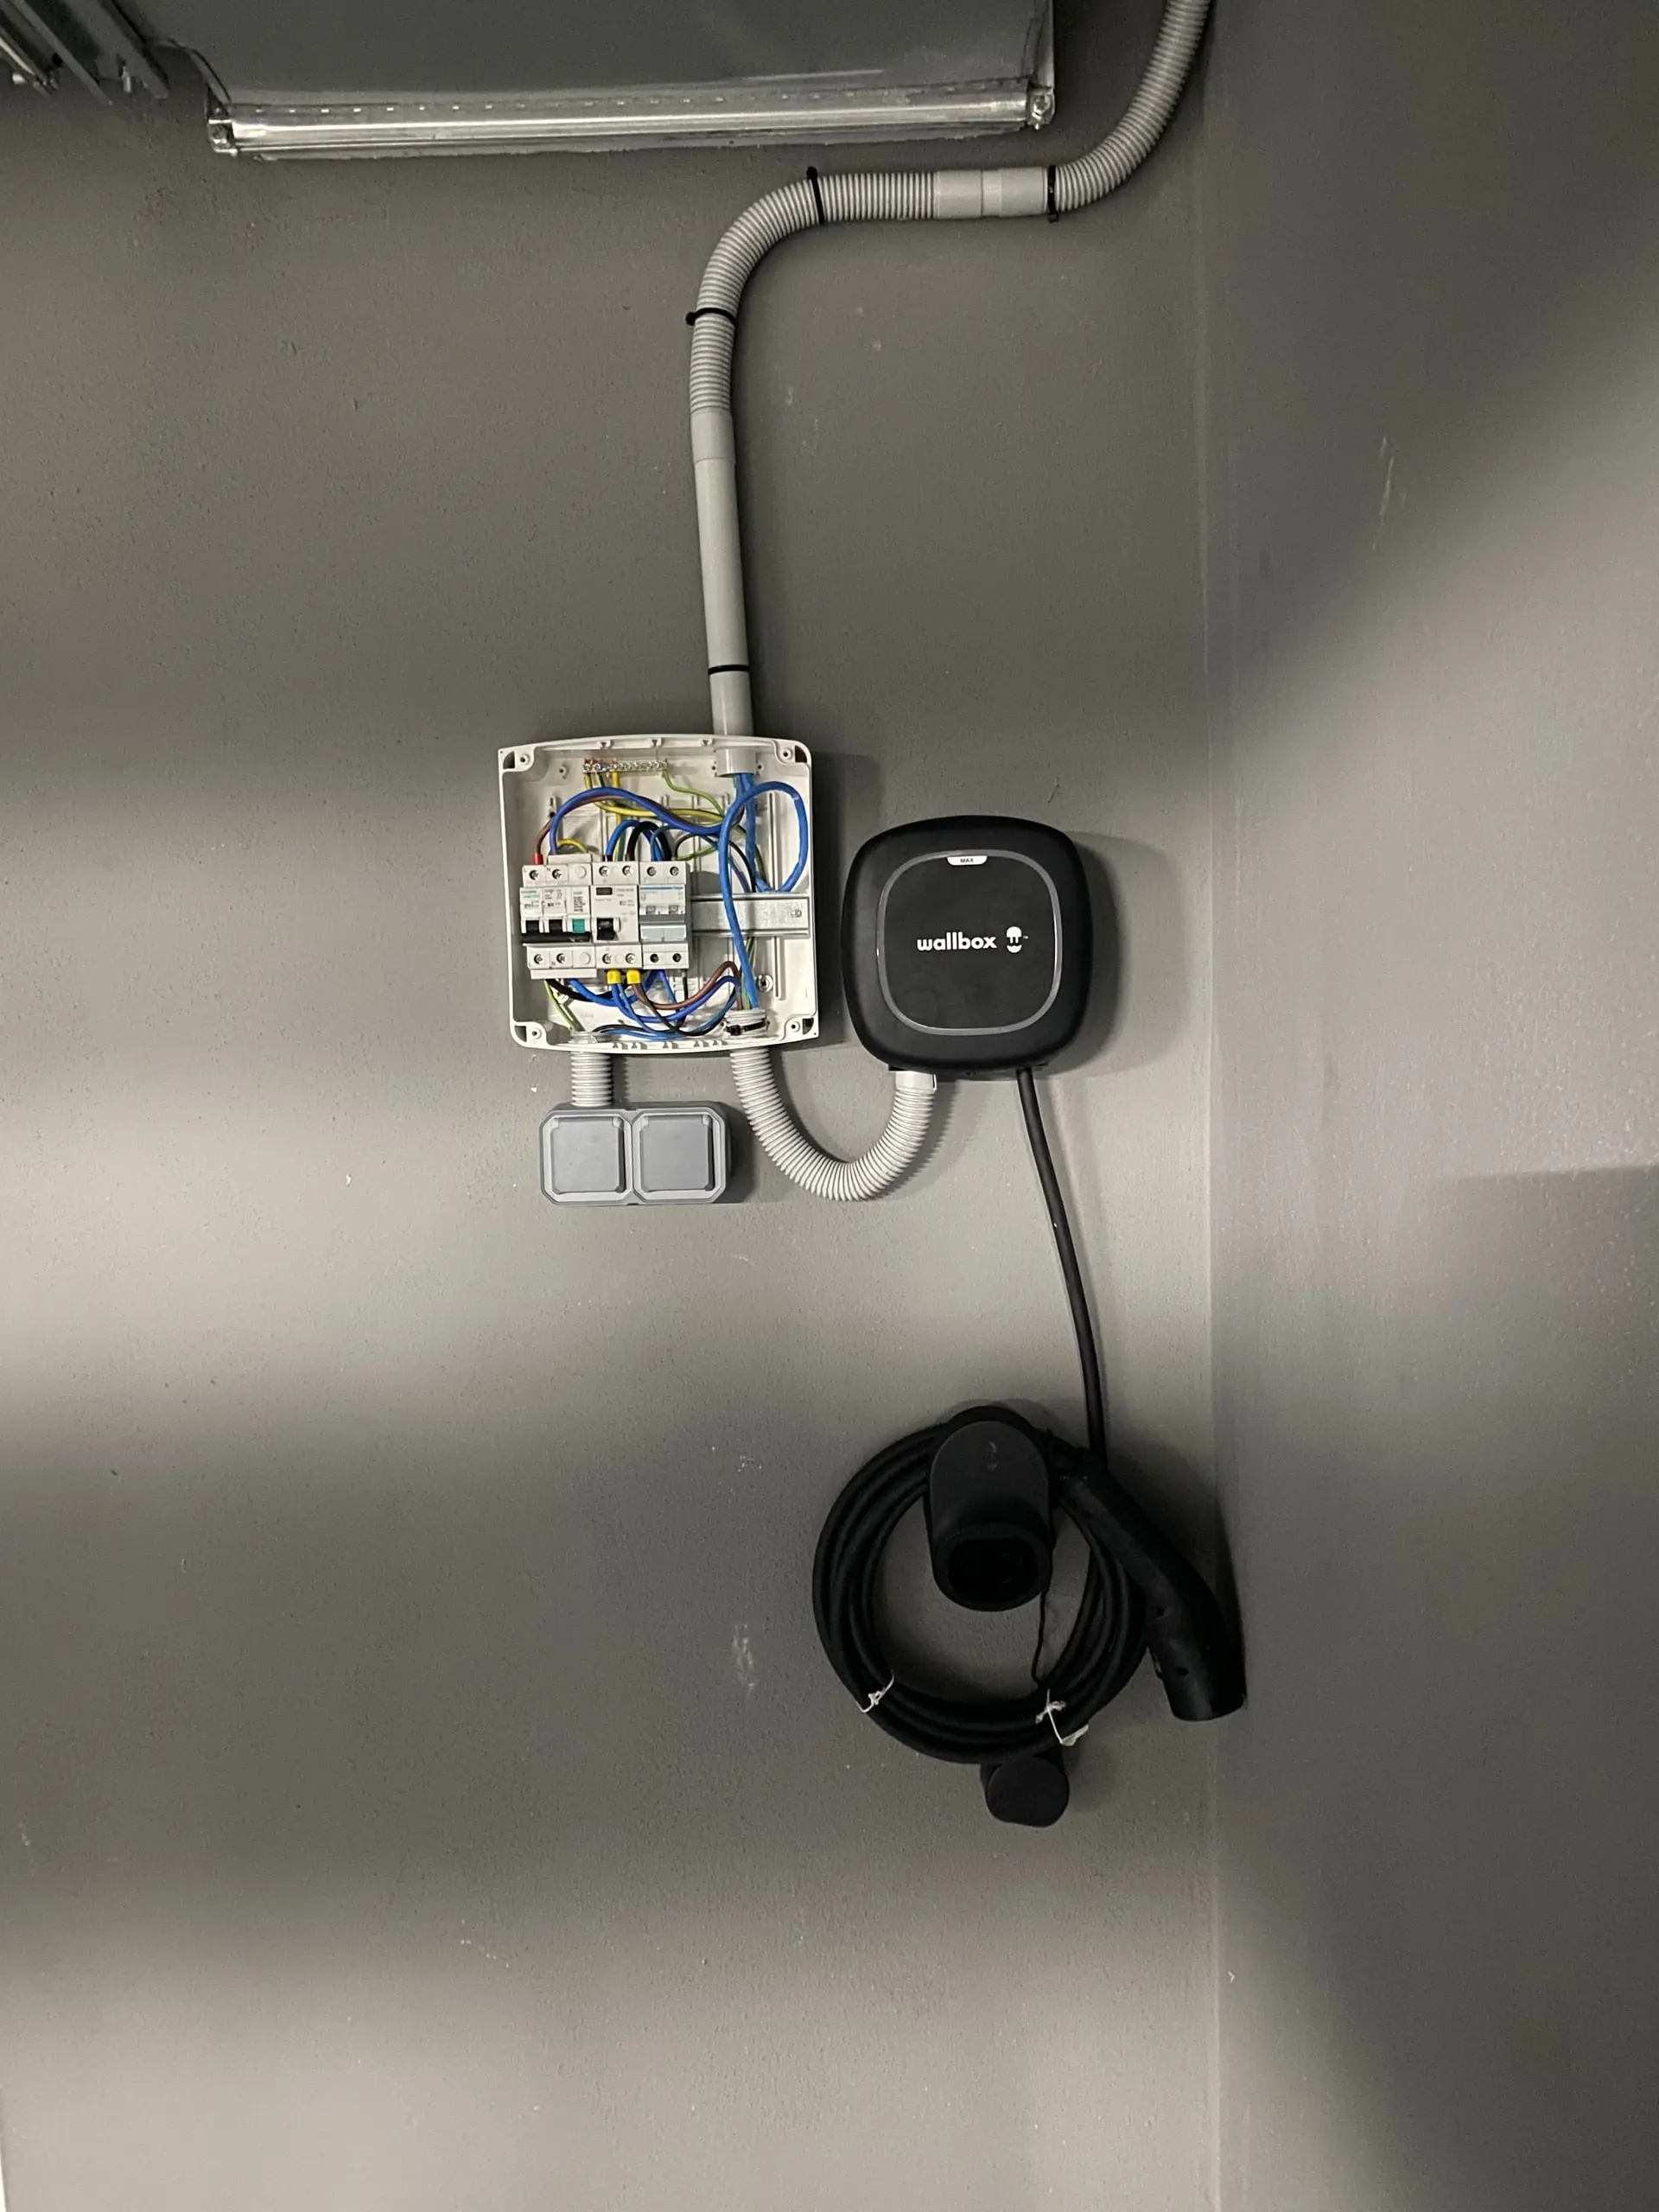
A protection enclosure. The breaker and RCD for the charger sit in a small enclosure of their own, usually near the board or beside the charger, so the circuit can be isolated on its own.
Cable sized for the distance. The conductor is chosen so the voltage at the charger stays within limits for a whole session at full load. A 25-metre run needs a heavier cable than a 5-metre one for the same charger, and this is one of the main reasons installation prices vary so much.
Which charger should you choose?
For most homes on a single-phase supply, a 7.4 kW charger. That is the practical ceiling on single phase, and it adds enough range overnight for almost any daily use.
Faster chargers need a three-phase supply and a car that can actually accept the higher rate. We have covered that decision in detail in 7.4, 11 or 22 kW — which charger do you actually need?, and it is worth reading before you spend more on power your car may not use.
Can you use a charger you have already bought?
Yes. We install customer-supplied chargers of any brand.
Before starting we tell you whether the model suits your supply, your car and the distance involved. Occasionally a charger bought online turns out to be three-phase on a single-phase house, or lacks a feature the installation needs. It is better to hear that before the cable is run than after.
What should you check before buying?
Five things, and most of them you can find out yourself.
- Single or three phase. Your electricity bill or the meter cabinet will tell you. Most Spanish homes are single phase.
- Your car’s AC charging limit. Not the rapid-charging figure, which is a different and much higher number. The AC figure is what a home charger can deliver.
- Where it will be mounted. A wall beside where the charging port ends up when you park, with the cable able to reach without stretching across a path.
- Distance to the board. Roughly how far, and what the cable has to pass through on the way.
- Load management support. Whether the model can work with a sensor on your supply. If there is any chance of reaching your contracted power, this matters.
A tethered charger (cable attached) is more convenient day to day; a socket version lets you use your own cable. If it will be outdoors, check it is rated for outdoor use.
Do you need load management?
Often, yes, and it is usually cheaper than raising your contracted power.
A sensor on your incoming supply tells the charger how much the rest of the house is using, and the charger takes only what is left. You never trip the main switch, and you avoid a permanently higher standing charge. The full explanation is in our guide to charging without increasing your contracted power. The sensor is fitted on the same day as the charger.
What happens on installation day?
On a straightforward house, one day, in roughly this order.
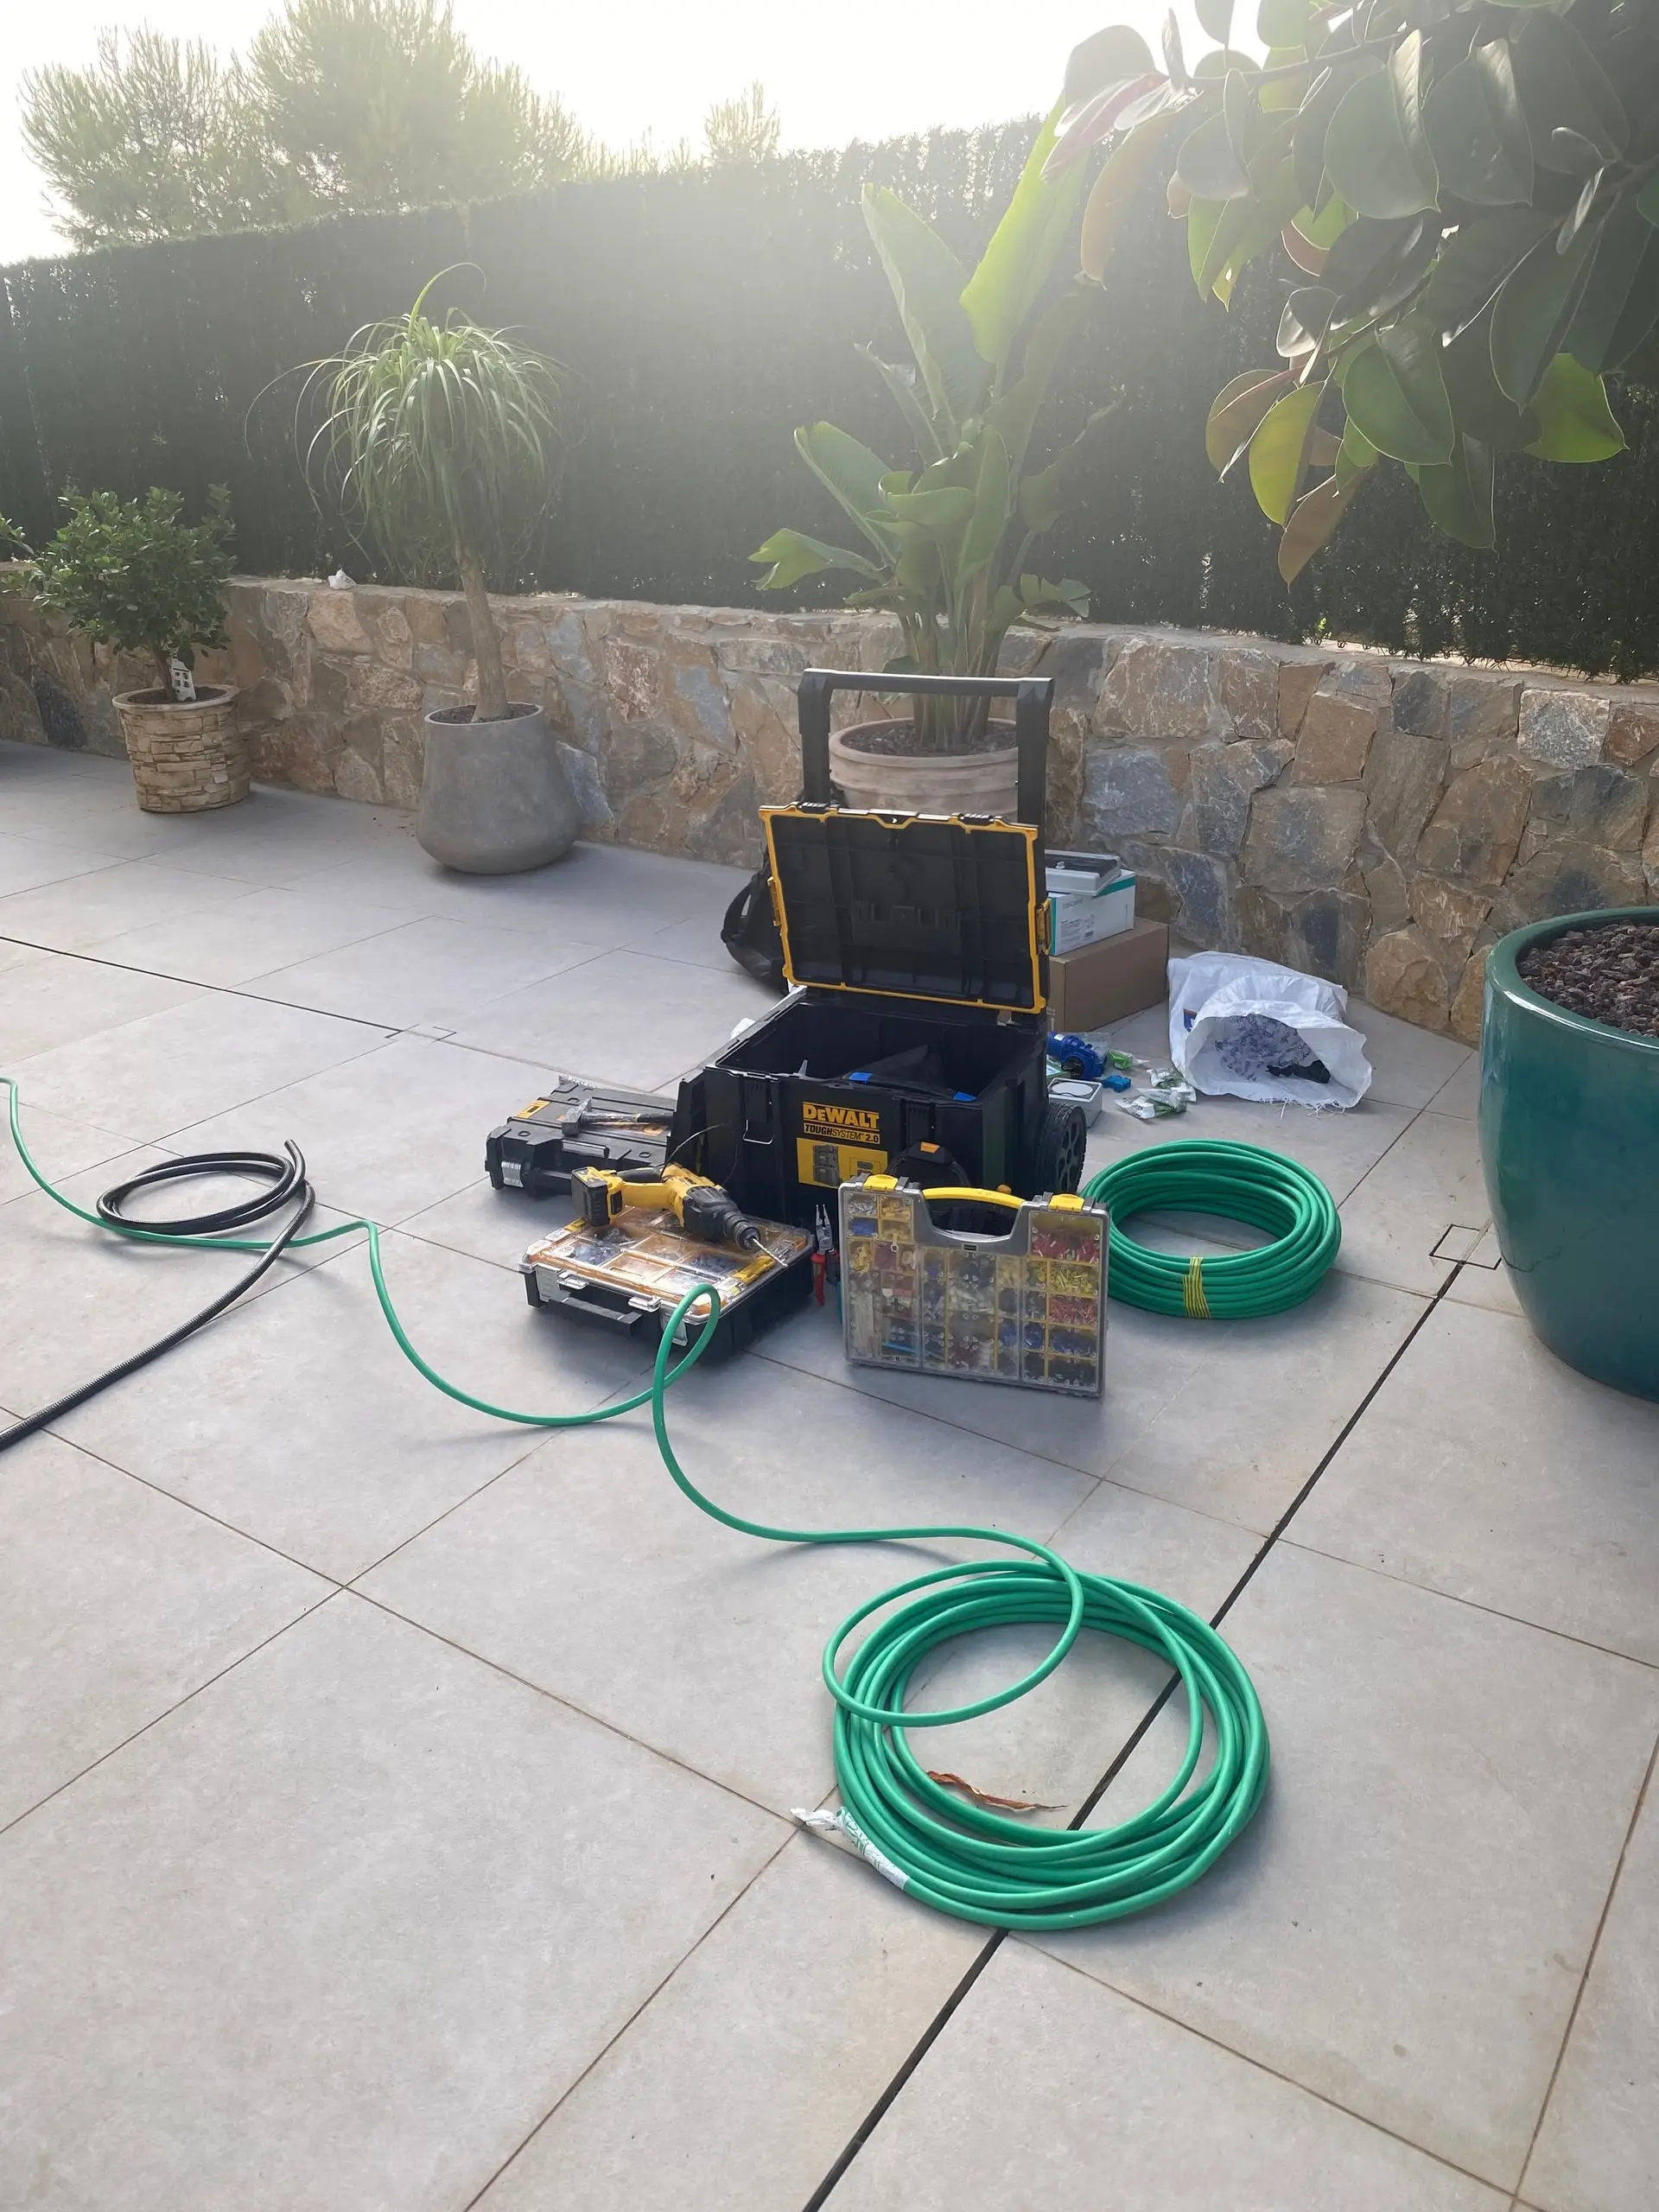
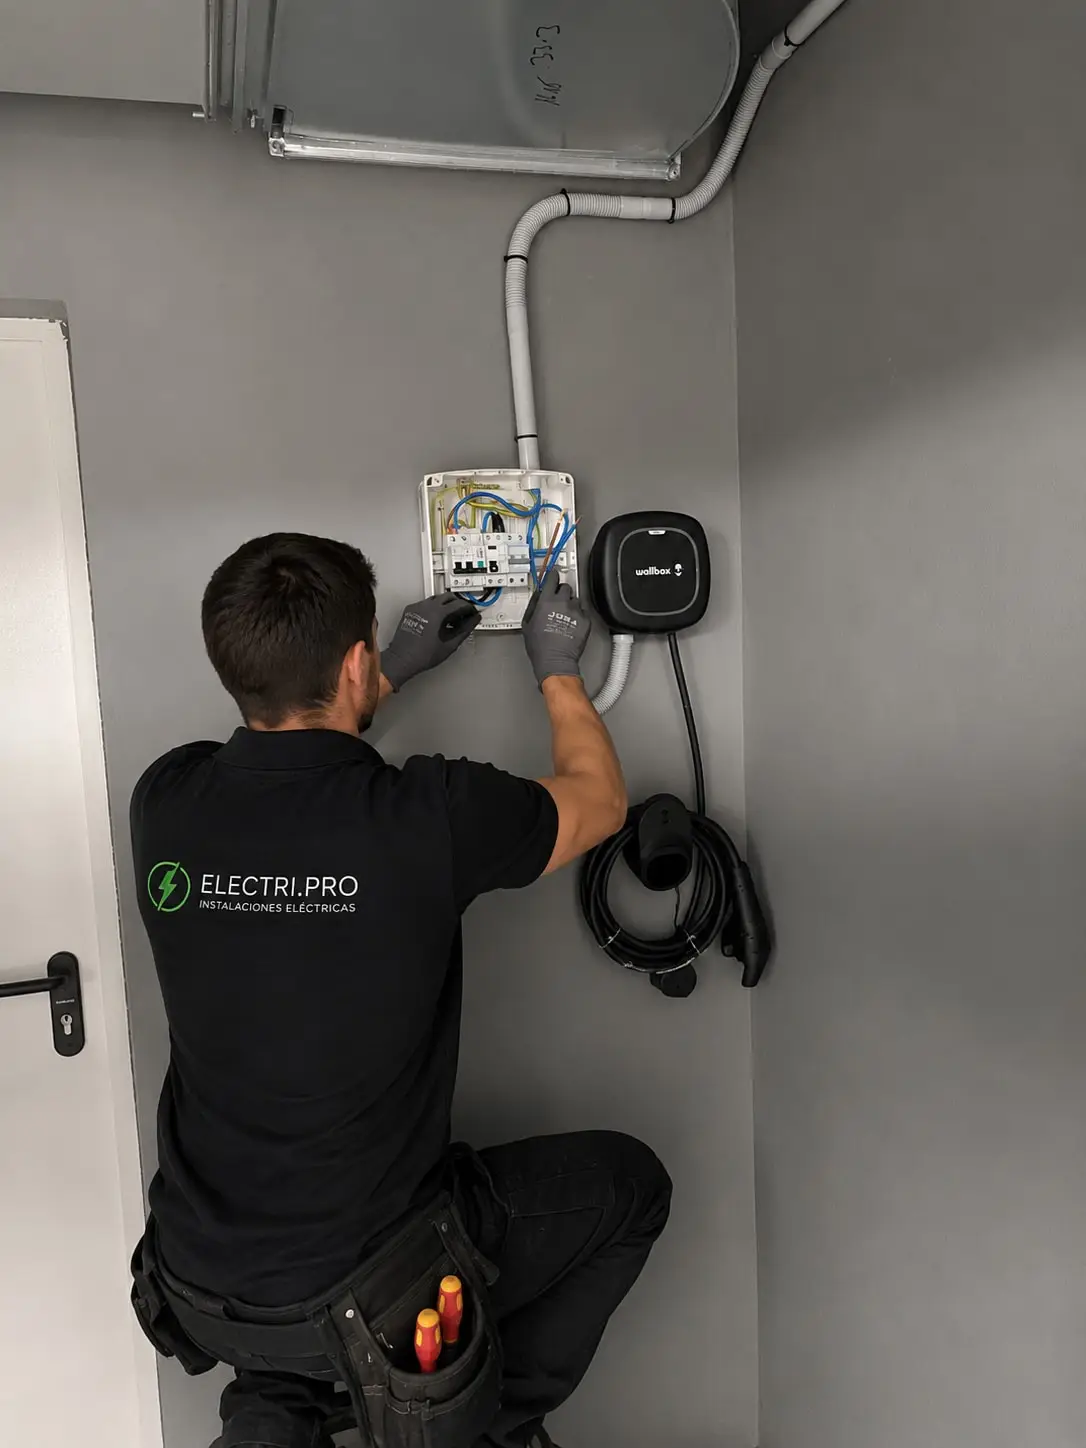
We confirm the route agreed at the visit and fix the containment. The cable is run from the board or meter position to the charger position. The protection enclosure is fitted with the breaker and RCD for the charger circuit. The charger is mounted and connected. If load management is part of the job, the sensor goes on the incoming supply.
There is a period with the power off while the new circuit is connected at the board. We tell you roughly when, so it does not catch out a freezer or someone working from home.
If you park in a shared garage rather than at home, the day looks different, mainly because of the longer route through communal areas. That case has its own guide: installing a charger in a communal garage.
How is it tested and handed over?
Before the charger is used, we test the circuit and the protective devices, including checking that the RCD trips as it should. Then the charger is commissioned: its maximum current is set to match the circuit and your supply, and load management is configured if fitted.
We then charge your car, or confirm the charger is ready if the car is not there, and show you how it works — starting and stopping a charge, the app if it has one, and what the indicator lights mean.
You get the invoice and the installation documentation for the circuit. Keep them: they are what you need for a future sale of the property, for a community notification if one applies, or for any deduction you may be claiming.
Getting a quote
The simplest way to start is to send us photos of your meter cabinet, your board and the place you park, with a rough idea of the distance between them, through the contact form or WhatsApp. Photos help us understand the job before the visit; the fixed price comes after we have seen your supply and measured the run. More about how we work is on our EV charger installation page.